
We recently completed our kitchen makeover (which was a huge hit, thank you for all the love!) and I posted a photo promising you guys I’d give you a tutorial for this wall. I feel like I need to get a few disclaimers out of the way before I share this with you…
I didn’t intend on sharing a full tutorial, and I didn’t take many photos! So you’re going to have to trust me here. I did, however, read about 10,000 different Pinterest tutorials about staining, white washing, etc. So I’m basically a professional. Ok, not really, hence the lack of photos. I was so panicked about stain drying etc. that I wanted to hurry up and complete the job without stopping to document any of it. I promise I’ll be thorough, and this will be the last tutorial you’ll need.
Ok, back to the tutorial.
When we started our kitchen renovation, I knew I wanted an accent wall. My love for all things “fixer-upper-style” has really taken over lately – and while doing a reclaimed wood wall would be nice.. it just wasn’t practical for us. Given the wall size, we’d need a ton of pallets, and who has time to be tearing all those up? Not us! I was so excited when we found this wood paneling at Lowes. Here is what it looked like in store (the one on the right):
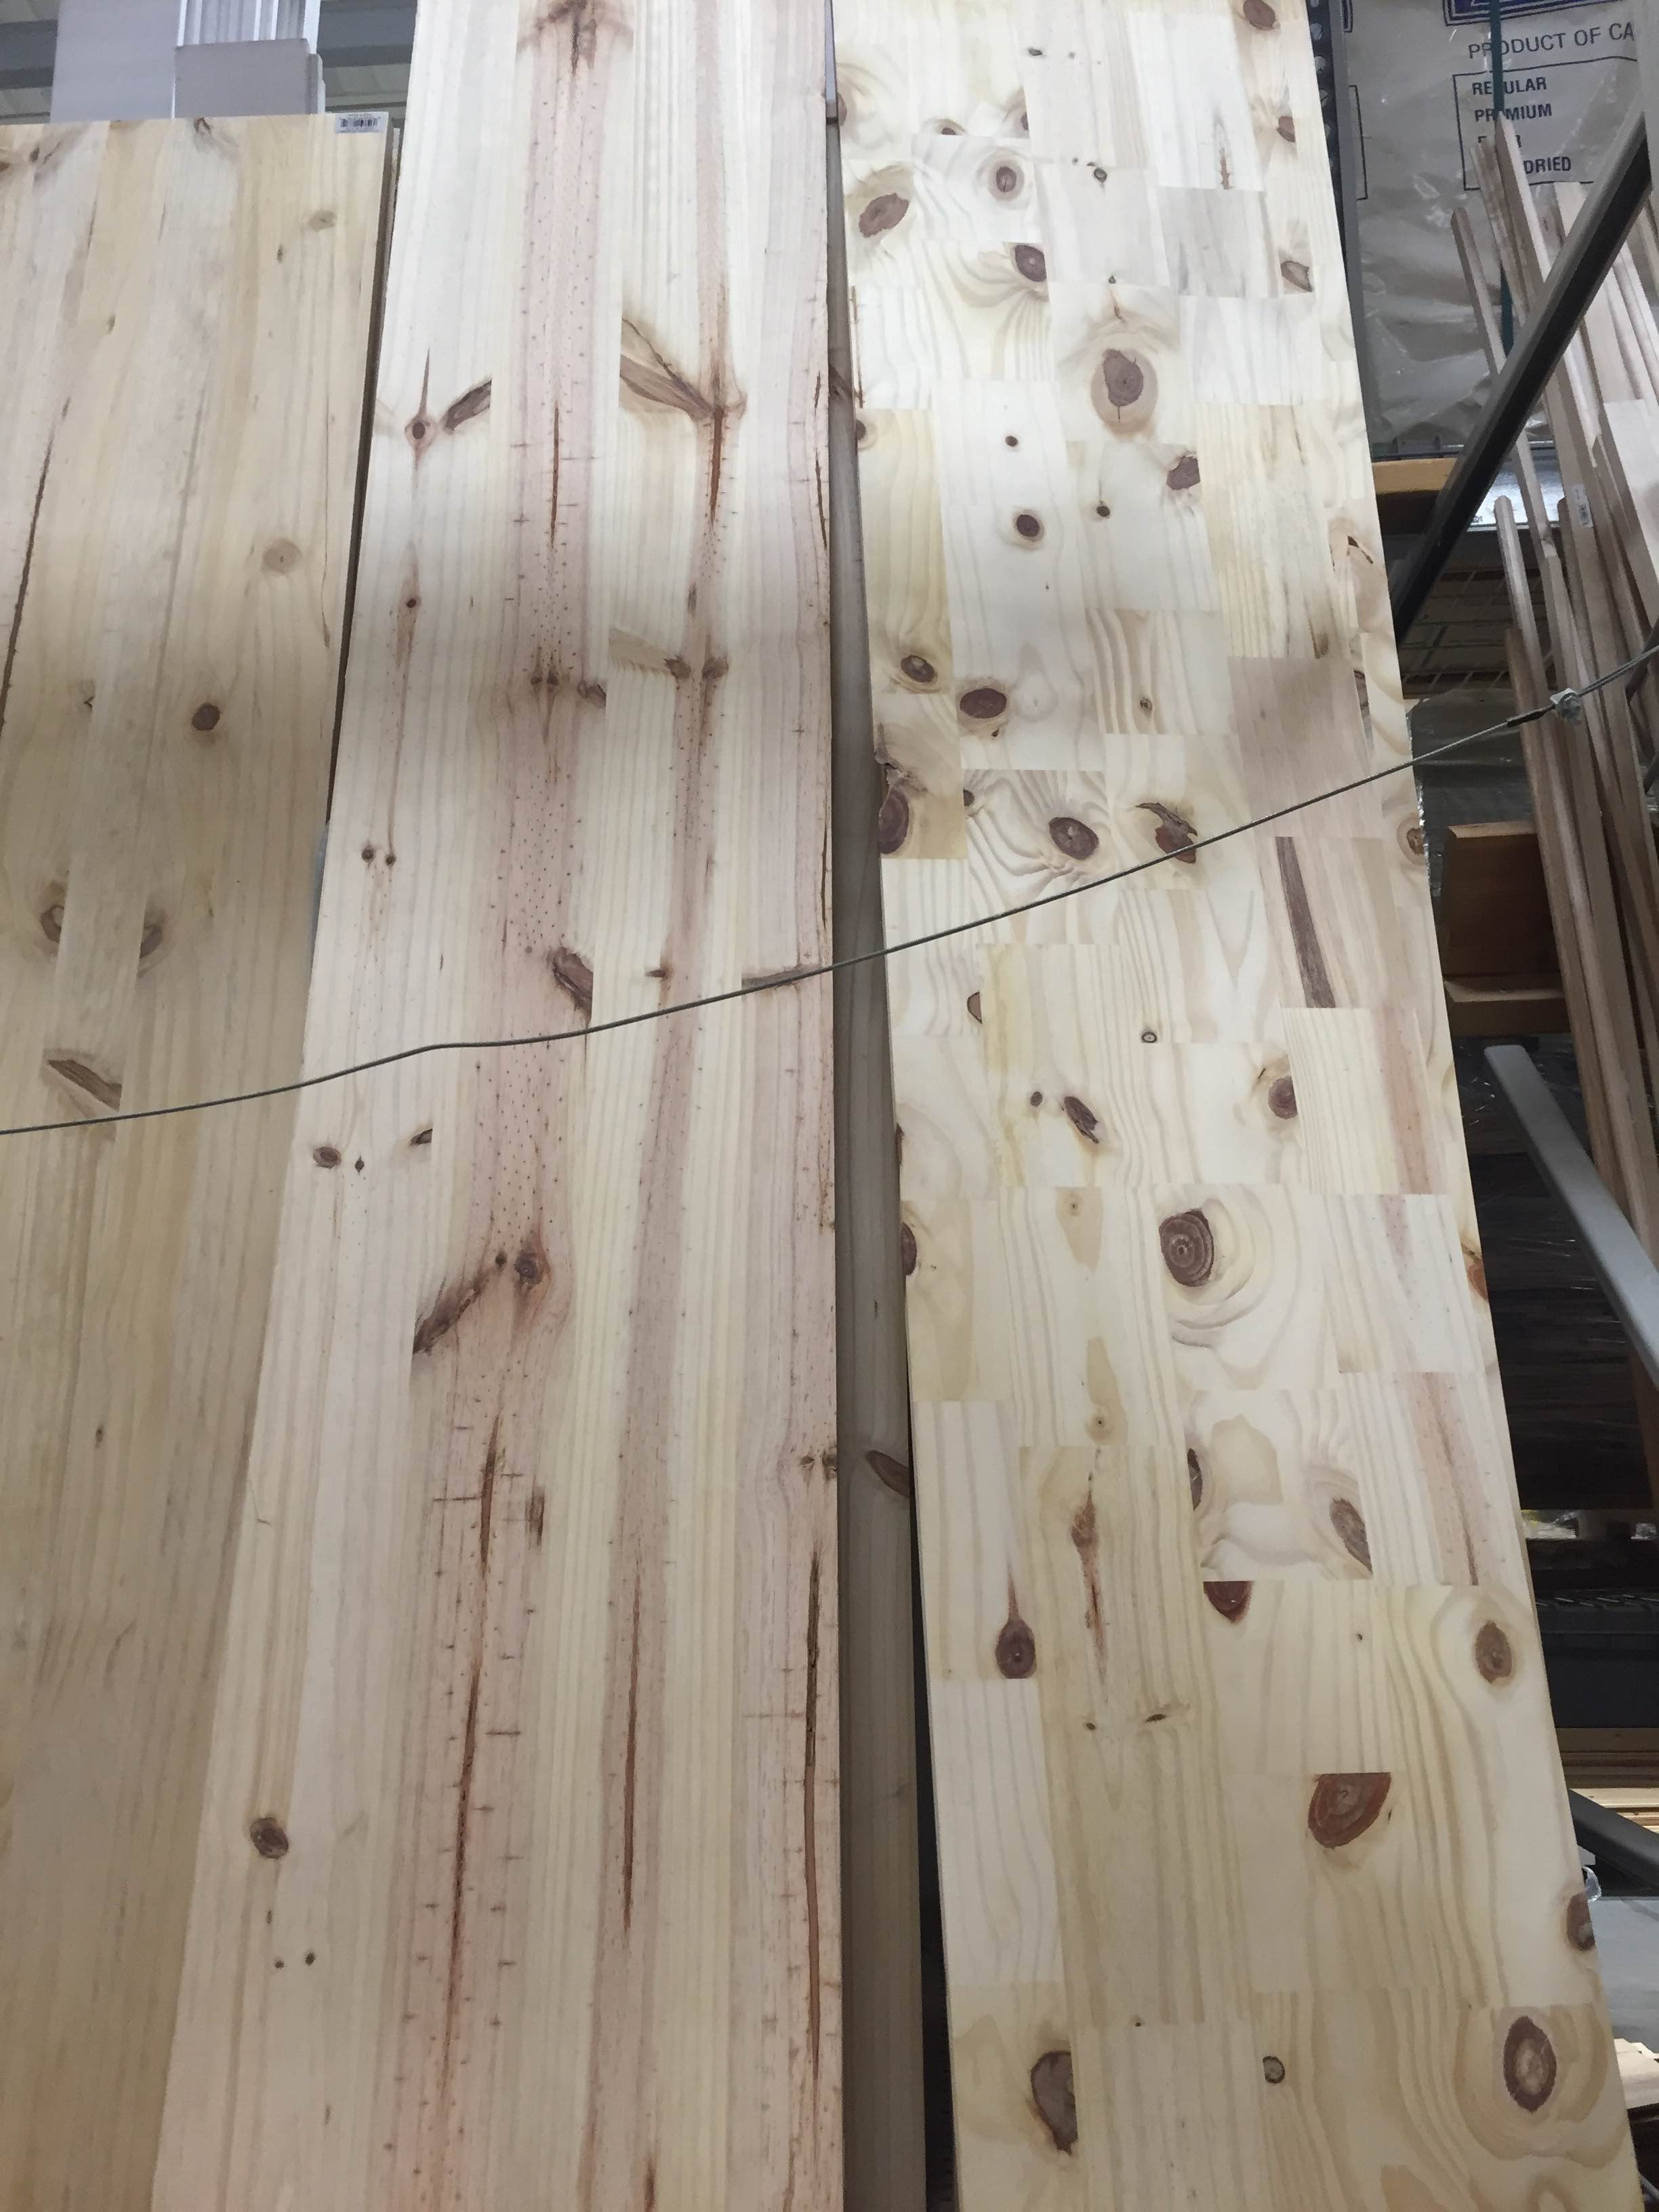
This was actually a comparison photo we took, and I loved the look and character of the wood on the right so I knew right away it would be perfect. These boards are 8ft x 16 inches, and were $19 each at Lowes. So you’ll need to measure your wall size before beginning to determine how many boards you need.
Supplies needed:
- Wood panels (see above)
- Stain (I used minwax dark walnut)
- Rubber gloves for staining
- Foam brushes and cloths (I used an old cut up towel)
- Paint for white/gray washing
- Nails + Nailgun (and possibly a handyman to help 😉 )
Steps:
- Stain: We needed 8 boards for our wall, I laid them all out and prepped to stain. After reading many tutorials on staining, I decided to brush the stain on with a foam brush. I did this in 3 sections per board. I didn’t want the stain to sit long. The process goes 1) brush stain on 2) wipe stain off with an old dry cloth (that’s it!)
- Gray wash: I read a few tutorials for this as well and couldn’t seem to find any clear direction. What I did was mix up some leftover gray paint 1 part paint, 4 parts water. I brushed this on with another foam brush, and wiped it off with another dry cloth. The more paint you use in your mixture, the more you see on the wood. NOTE: I ended up switching to a clean cloth after a few boards, because the paint cloth got saturated and wouldn’t wipe the gray wash off. So have a few extra cloths handy.
- Let dry: I probably should have let them dry for a day or two, but we gave them about 2 hours.
- Find your studs: Use a stud finder, or drill holes in the wall, whatever is easier for you!
- Start securing boards: We laid them out on the kitchen floor and I chose the way they’d be staggered. Then, we both held the board against the wall, while Mr. Kirk nailed it in place.
- You may need to cut: If your wall is longer than the board, you may need to cut and stagger. We opted to keep 8 ft sections and add 1 ft sections on the end (alternating sides) and you can’t even tell!
- Optional: Depending on the nails, you may want to wood fill the holes, we didn’t. The nails are pretty small and I love the look they give anyway!
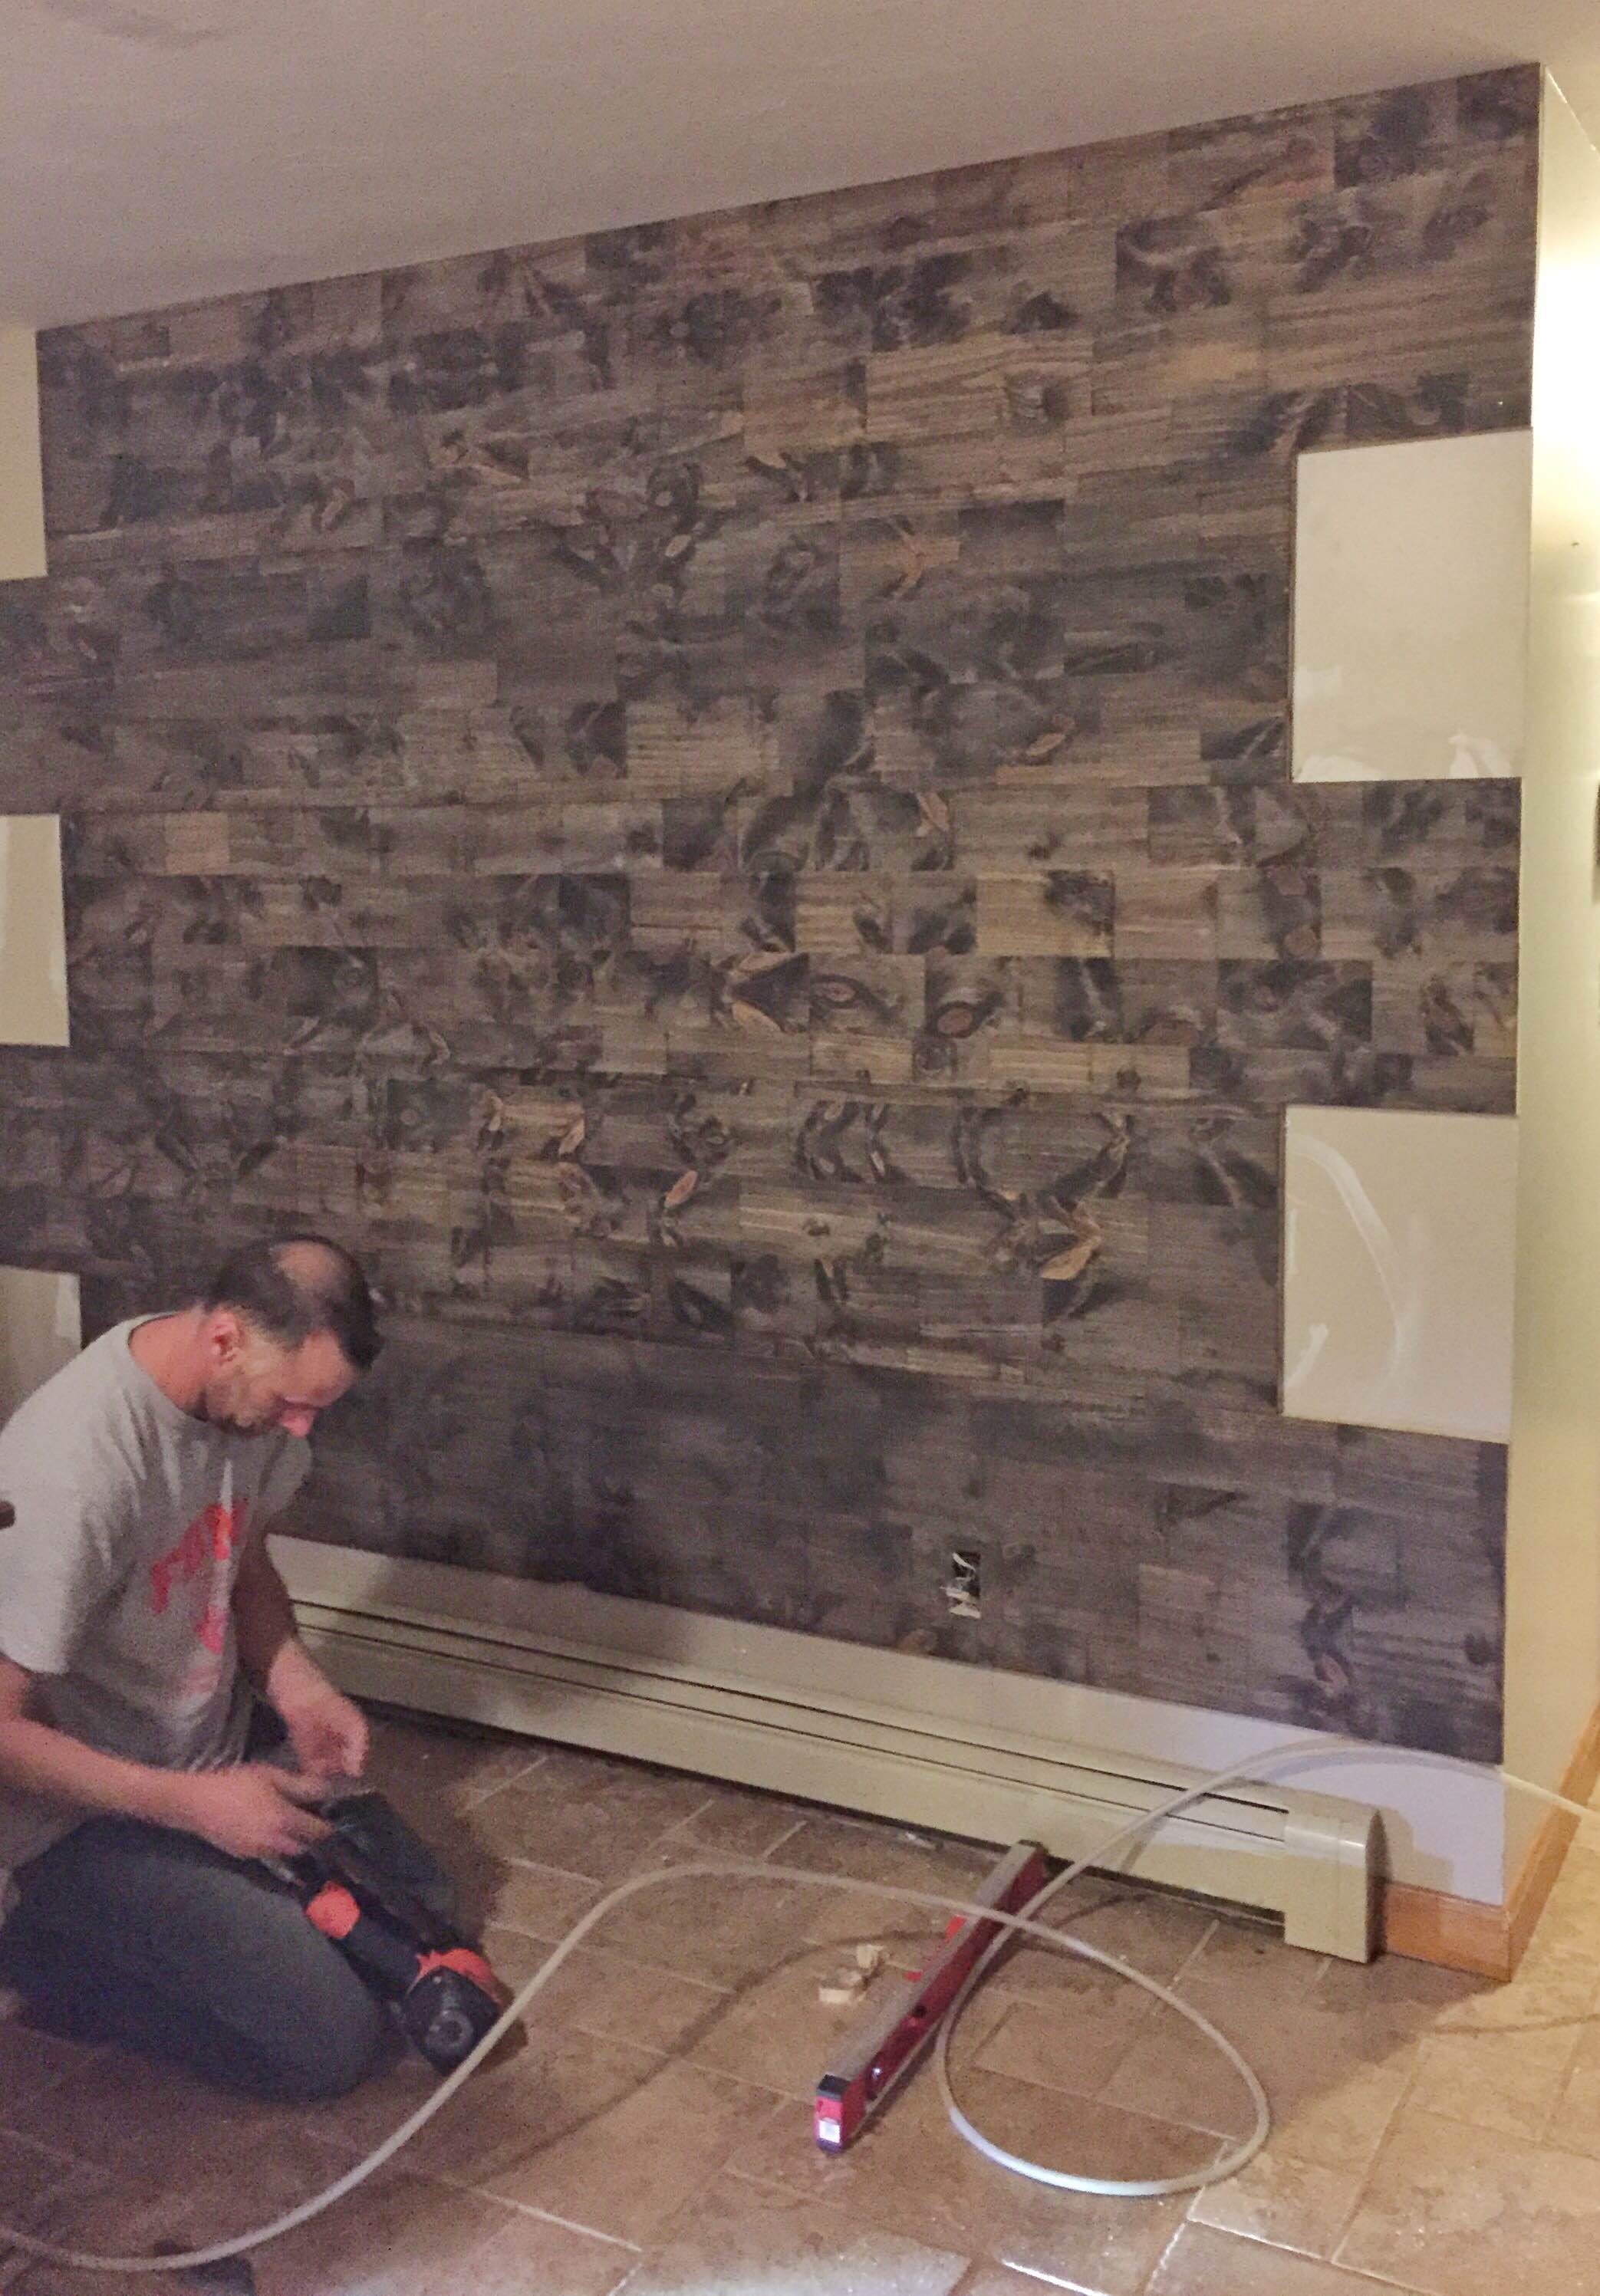
That’s about it! It took us one day total, it was a lot of work but totally worth it! Here are a couple shots of the wall (yes, we let the kids graffiti the wall before paneling it!)
In progress…
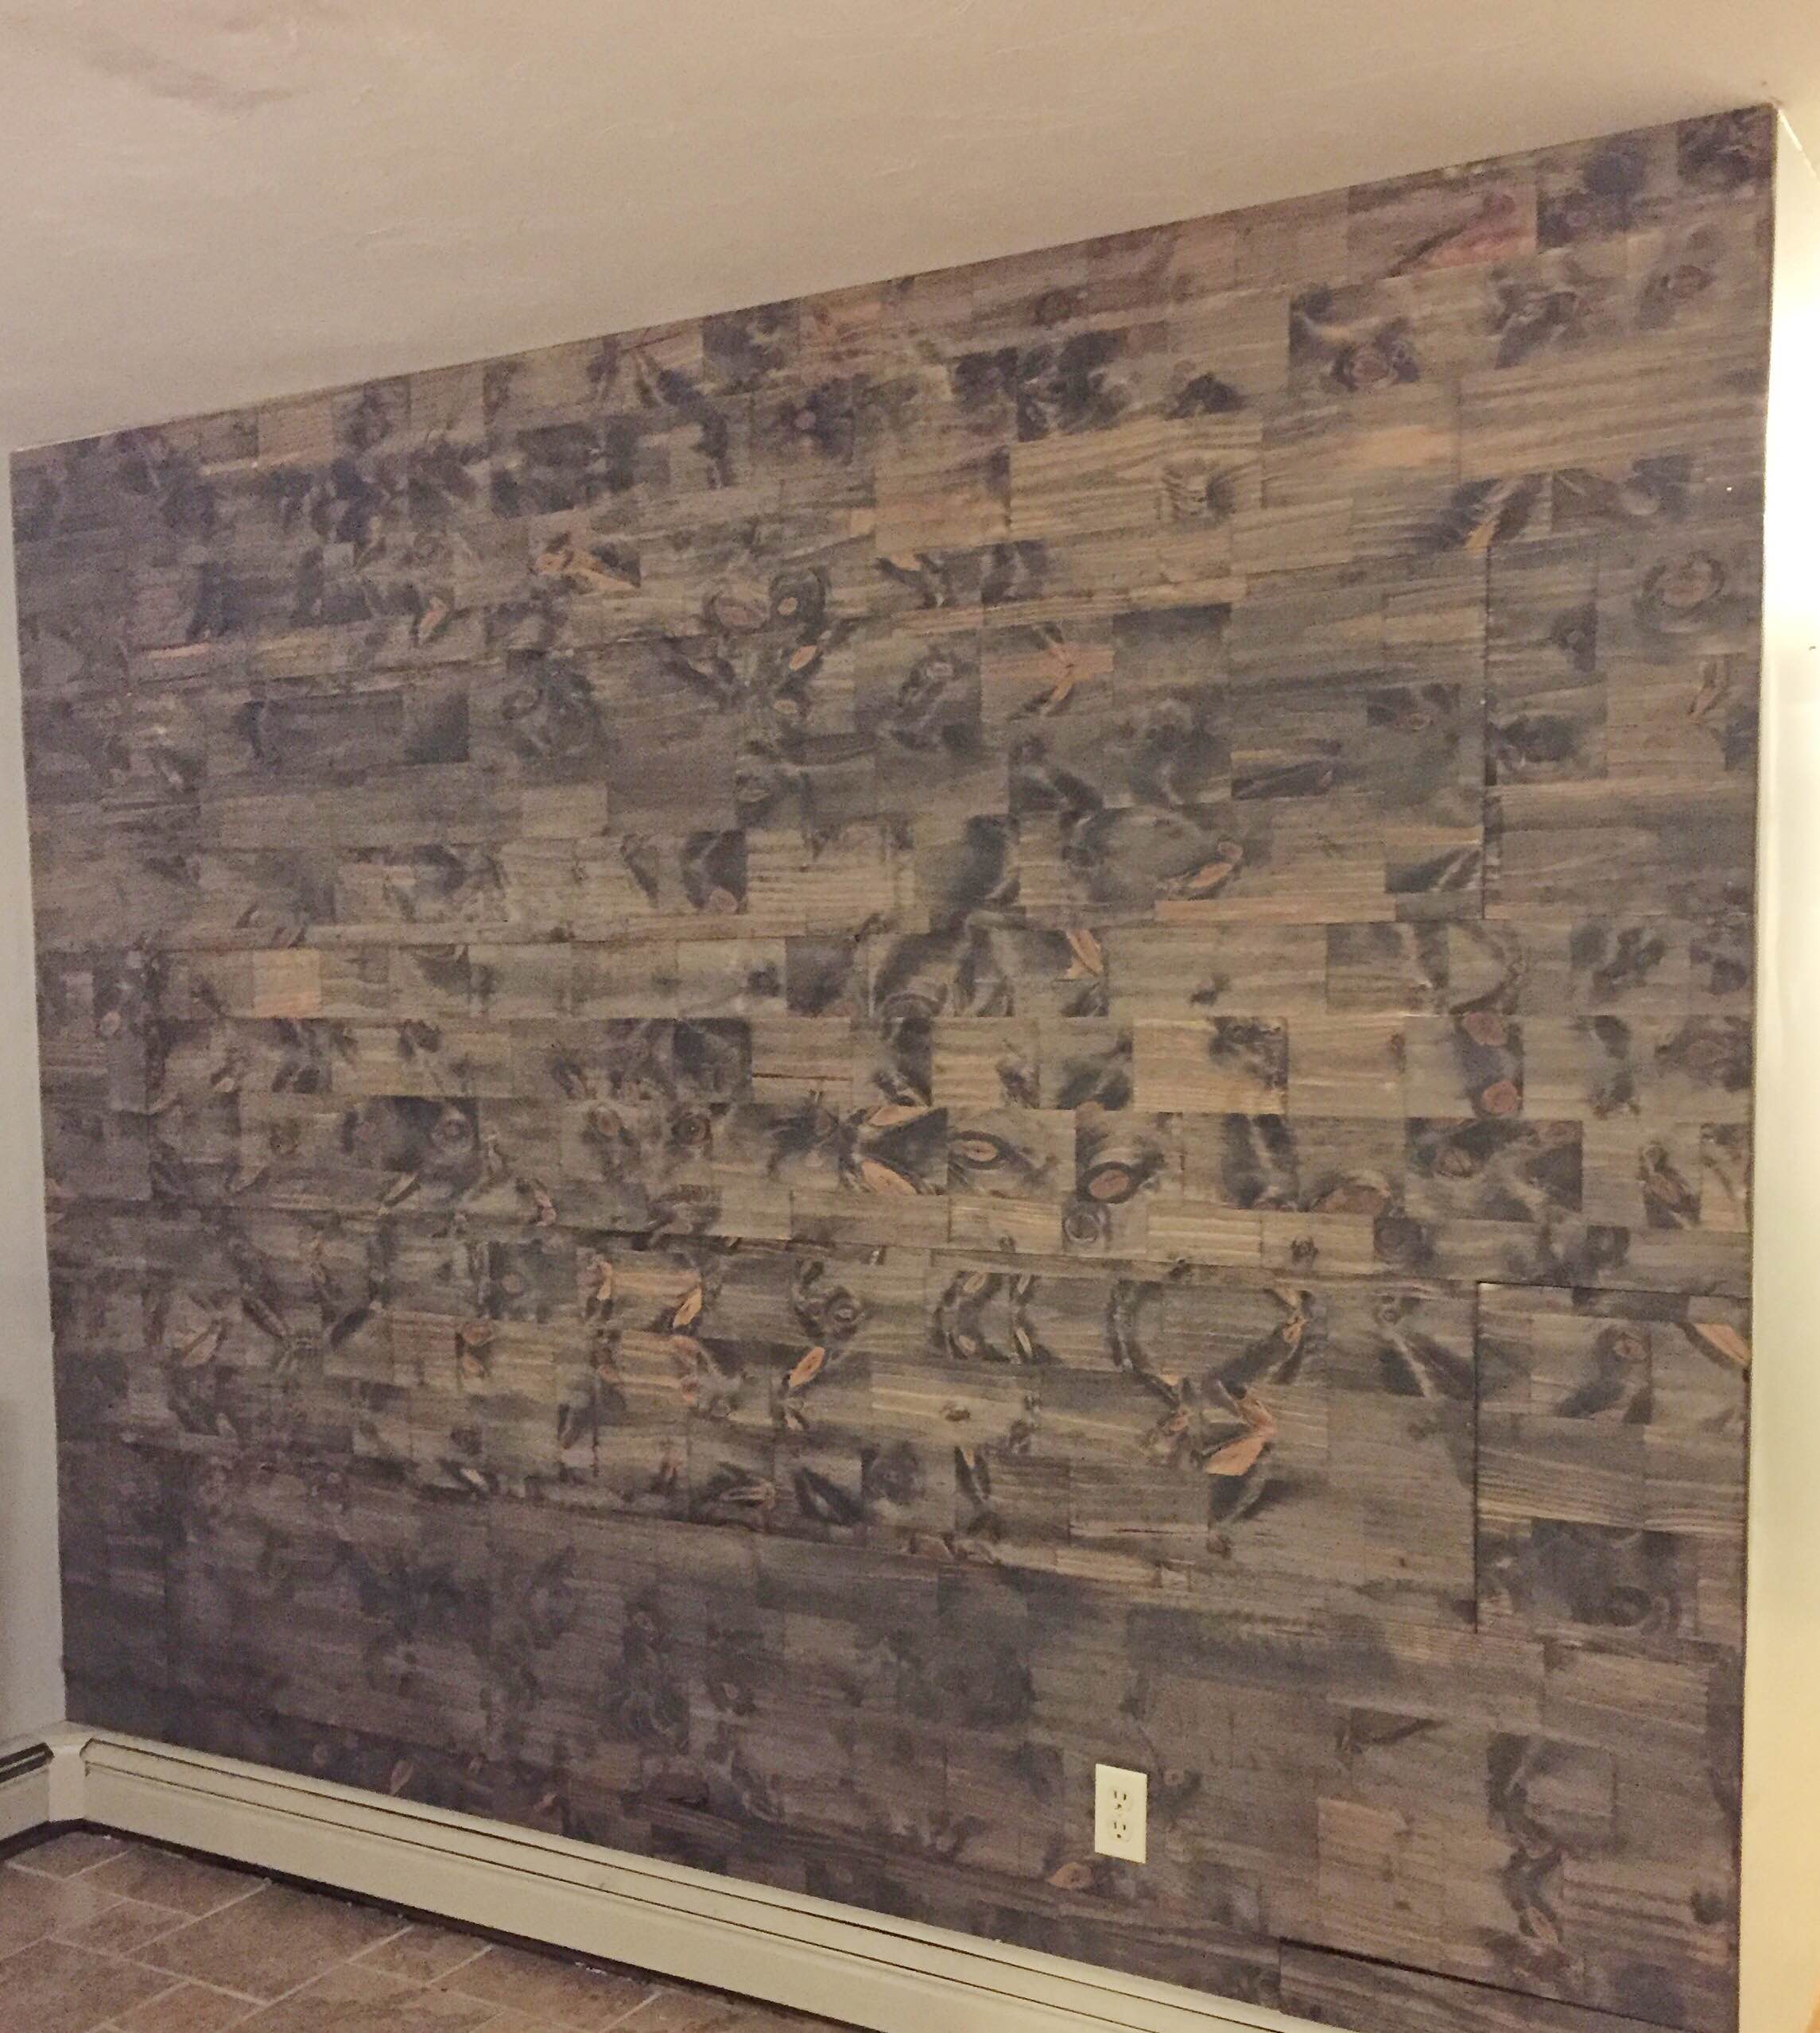
All done…
Finally put back together! (Get my gallery wall secret and tutorial here)


4 Comments
Susan
July 30, 2016 at 12:56 pmOn the end at the hallway, did you put any kind of edging? Does the thickness of the board look funny right there at the end of the wall by the hallway?
Gina
August 8, 2016 at 10:49 pmNo edging! We did stain the end of the boards and it looks just fine the way it is. The end of the boards were smooth and nice, you could always sand them a bit if yours aren’t – just be careful with the stain it can be pretty messy trying to get that edge piece, I’d definitely say do it BEFORE hanging them (which we didn’t) LOL
Erica
August 29, 2016 at 4:56 amYou mentioned a stud finder, do you nail the boards into the studs? How many nails per board? How about the end pieces? Thanks!
Gina
August 31, 2016 at 2:36 amHi Erica! Yes we did nail them into the studs and right at the end of the wall as well. My husband tacked them with a couple of nails then went back and put 3 nails in where each stud would be and at the ends of the boards maybe 2″ away from the end of the wall. Hope that helps!